
Happy Father’s Day to everyone celebrating. I know that for so many of us, our fascination with WW2 and ASL has it’s roots deep in the stories told by fathers and grandfathers of their experience while in service to their nation. Thanks Dad! Without you I never would have had a $10,000.00 collection of cardboard 😉
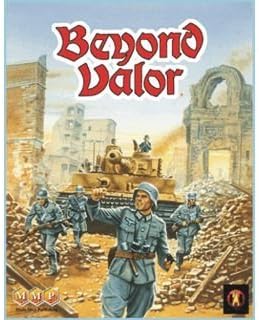
First, Beyond Valor is back in stock but for how long? As with all information coming out of ASL HQ, lips are tight but I have a feeling this was not a complete production run so MMP may be out of stock again soon.
Starter Kit Expansion Pack #2 is on pre-order and the good news is that SK stuff usually gets knocked out pretty quickly so I am hoping to have my hands on it this year.
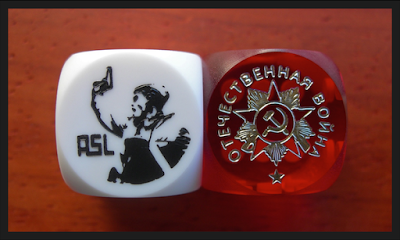
After over a year of production and shipping delays, we finally have a restock of all (or just about all) of our Battledice courtesy of Helen and Chris. They should be here and shipping the third week of June including all of the backorders and I.O.U’s that you have been so patient with.
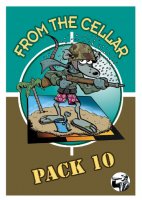
From the Cellar 10 is en-route across the pond and should be arriving at any moment.
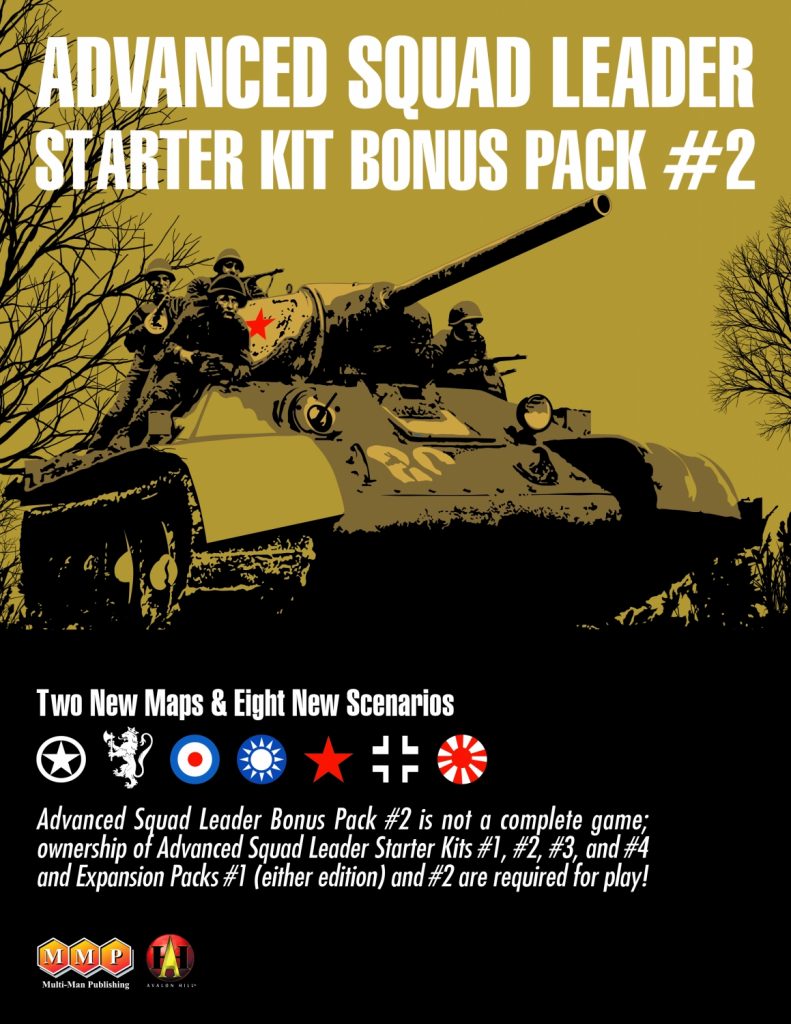
ASL Starter Kit Bonus Pack #2 Pre-Order
Advanced Squad Leader Starter Kit Bonus Pack #2 is a new scenario and map pack for Starter Kit players. This Bonus Pack features two new 8″ x 22″ boards (i and j) and eight new scenarios that encompass a wide range of actions from China in 1938 to The Philippines in 1945 that feature seven different nationalities (Germany, Japan, Soviet Union, United States, Great Britain, China, and Norway).
Unlike most Starter Kit products, Bonus Pack #2 is NOT a standalone game; ownership of ASL Starter Kits #1-#4, and Expansion Packs #1 (either edition) and #2 are required to play all the scenarios herein.
ASL Starter Kit Bonus Pack #2 contents:
- two 8″ x 22″ geomorphic maps (i and j)
- eight scenarios (S82-S89)
- front and back cover sheets
- charts & tables
Hazardous Movement Scenario Pack 1 Review:
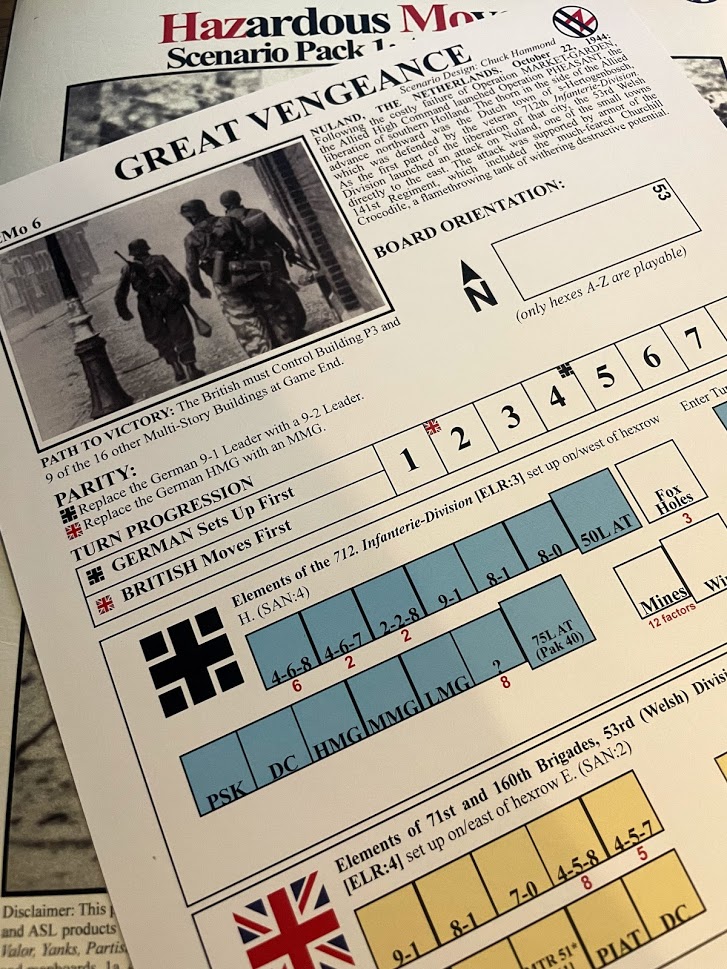
This first endeavor from Chuck Hammond and Chad Cummins has a lot to unpack. The first thing I notice when I open up the plastic is the quality of the product. Encased in a beautiful folder, the full color scenario cards are very well printed on satin 110 lb. card stock that has a great feel and makes everything easy to read. The intro and Aftermath, always my favorite nighttime reading are well written and give a good feel for the battles. The ten scenarios offer nine separate nationalities spanning 1937 to 1944 with an emphasis of fortifications that offer both players some superb puzzles to create and to crack. Every scenario has the defense setting up with Mines, Wire, Trenches, AT Ditches, Fortified Buildings, and/or Pillboxes. Although I haven’t played any of them yet, Chuck insists that balance was the priority number 1 and it was playtested to death by some of the heavy hitters in the hobby. The scenarios are old school meaty and long (7 to 11 turns, averaging 8.35 turns) and with very large OB’s, with the smallest action pitting 24 squad equivalents and the largest with 58 (average is 37). So if you like big, reminiscent of the first generation of scenario design, this one is a must have. The only areas I see an opportunity for improvement are relatively small considering this is a first effort for HM. First it would be nice to add graphics to the scenario cards. I know that some people don’t mind the lack of silhouettes but I am very visual and have a hard time grasping the OB without my little soldier drawings on the counters. Also, the layout for scenarios requiring more than one page (6 of the 10 scenarios in this pack are two pagers) is usually to put the additional information on the back of a separate scenario as this allows you to read the entire set-up and SSR without the need the flip over the card. My last small criticism is that although the folder is a testament to the quality and pride going into this product , I keep my scenarios in a binder and I will have to cut the folder to fit it in a sleeve. Having the same cover photo on cardstock could have saved a couple of bucks at production time but not a big issue either way. These are minor complaints in an otherwise superb looking product and I do recommend picking this up before it is gone. I look forward to more from these great designers.
Contest #99
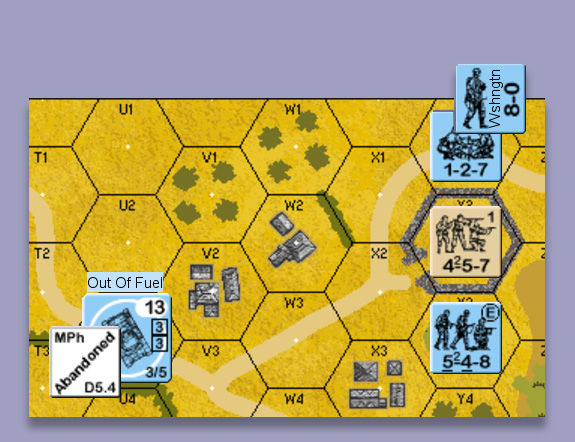
It is the MPh of the last player turn (Italian) of the game. The Italians need to take building X12 to bring glory to what’s left of the Roman Legions. He realizes that there is plethora lead facing his every move. After first NAM to W15 for 1.5 MF’s, a Russian squad in U13 fire at him with a 4 flat and roll a 3,3. This cowers to NE on the IFT and activates an Italian Sniper. A subsequent roll of 1 and then 5,1 for direction/distance.
What would you do to ensure your best possible chance of winning as the Italian player?
Note: I used deluxe sized hexes for the diagram but this is a standard (non-Deluxe) scenario.
Solution to Contest #98
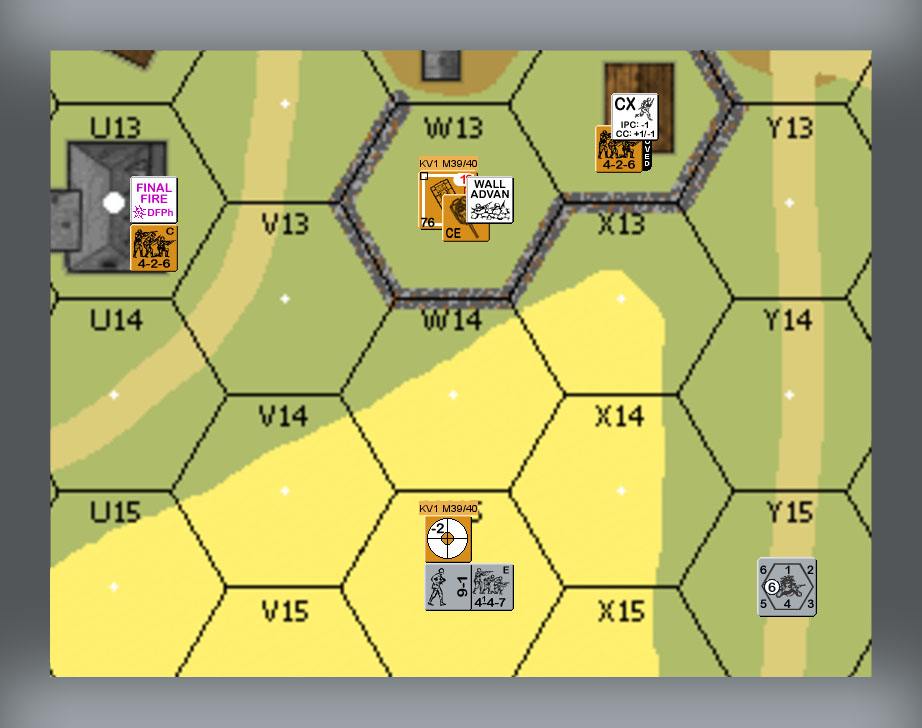
Much to the dismay of the elite tank crew, Washington finds an unorthodox use for them. Taking advantage of the chivalrous conduct regarding quarter in the desert, he orders the five men to distract the British by… surrendering?!? While the Tommy’s are welcoming their new guests, he and the ten remaining men hop the wall and enter the building, firing at point blank range in a wild melee that just barely carries the day.
The conventional approach would be to fire with the 548 and then advance into CC with all three units. Unfortunately, there is not enough firepower coming from the leader directed crew for even a PTC let alone a NMC for encircling fire. Since the crew adds an insignificant CC strength to affect either the attack or the defense odds (7:4 = 3:2 column & 6:4 = 3:2 column, likewise 4:7 = 1:2 column & 4:6 = 1:2 column), it would best serve the cause to surrender and halve the CC strength of the British (as this is DTO, surrender cannot be refused). This simple move changes the odds of the Germans capturing the victory as follows:
No Ambush: 25.5% to 27.2%.
German Ambush: 40.5% to 41.7%
British Ambush: 13.9% to 15.3%
So the final odds including the chance of ambush assuming that the German failed to break or pin the British squad during the AFPh would be: 26.06% without surrendering to 27.63% if the crew does surrender. Although this is a very modest increase it is absolutely free and without negative effect. Although gamey, there is no ‘*’ next to a ‘W’.
Note that Sgt. Washington could have volunteered to be the surrendering party instead of the crew and the effect would have been the same.