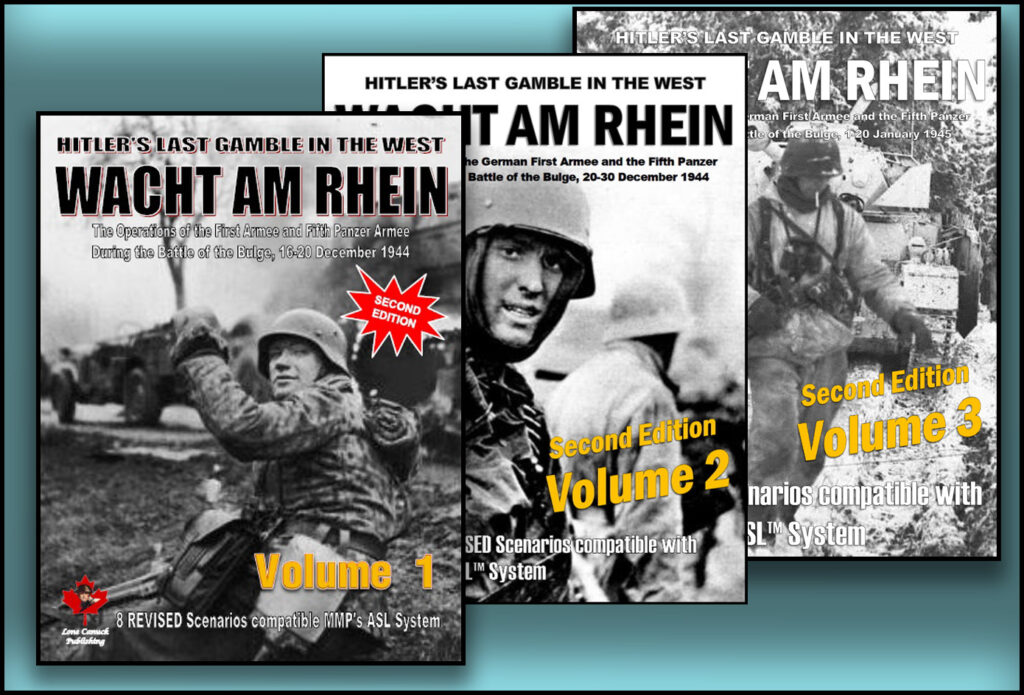
-44 Scenarios
-6 Geomorphic Mapboards
-3 Countersheets
-Chapter H rules
Hot off the presses with the center dot issue fixed. Please contact MMP for replacement overlays if you received the overlays without a center dot.
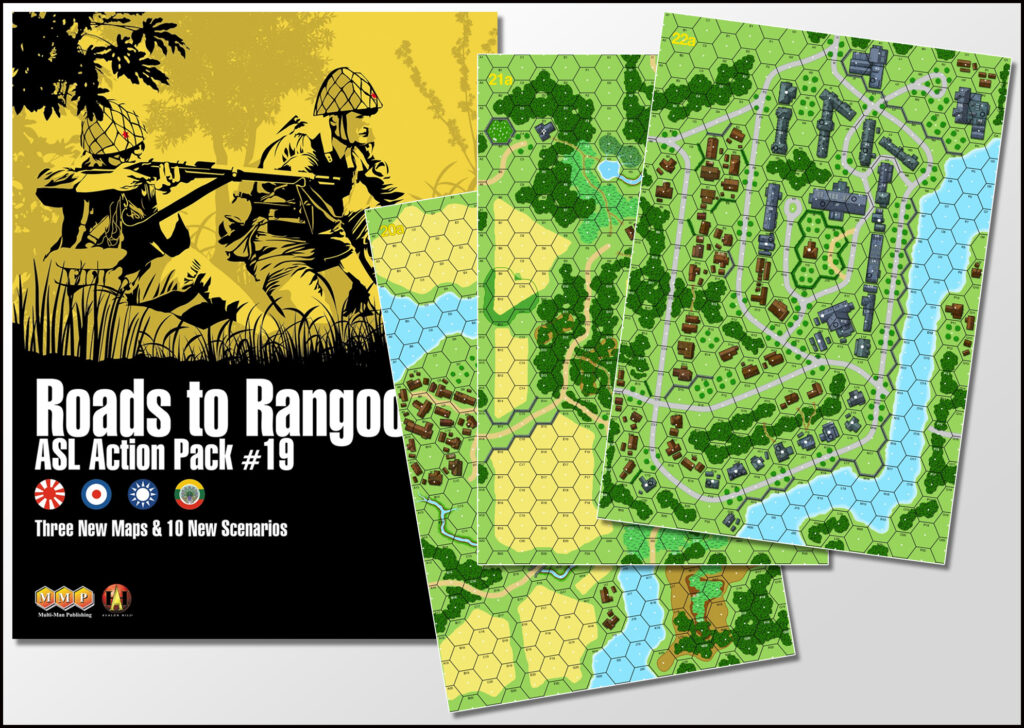
Action Pack 19: Roads to Rangoon
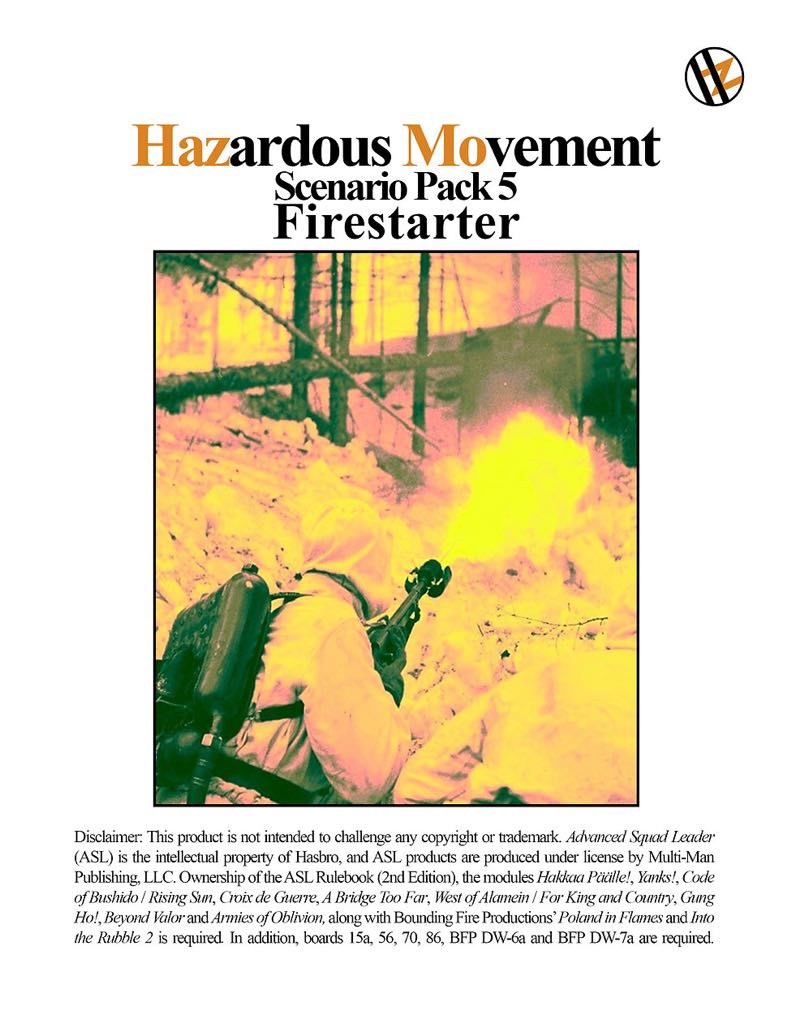
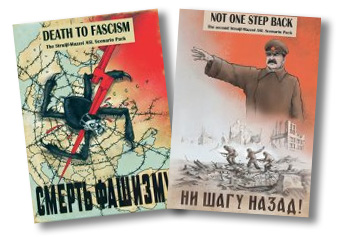
Hazardous Movement 1-5 Package Deal Discount

It is with a very heavy heart that I learned of the passing of Mark Ruggiero. The gaming world is much poorer with this news. Sincerest condolences to Mark’s friends and family, he will be truly missed.

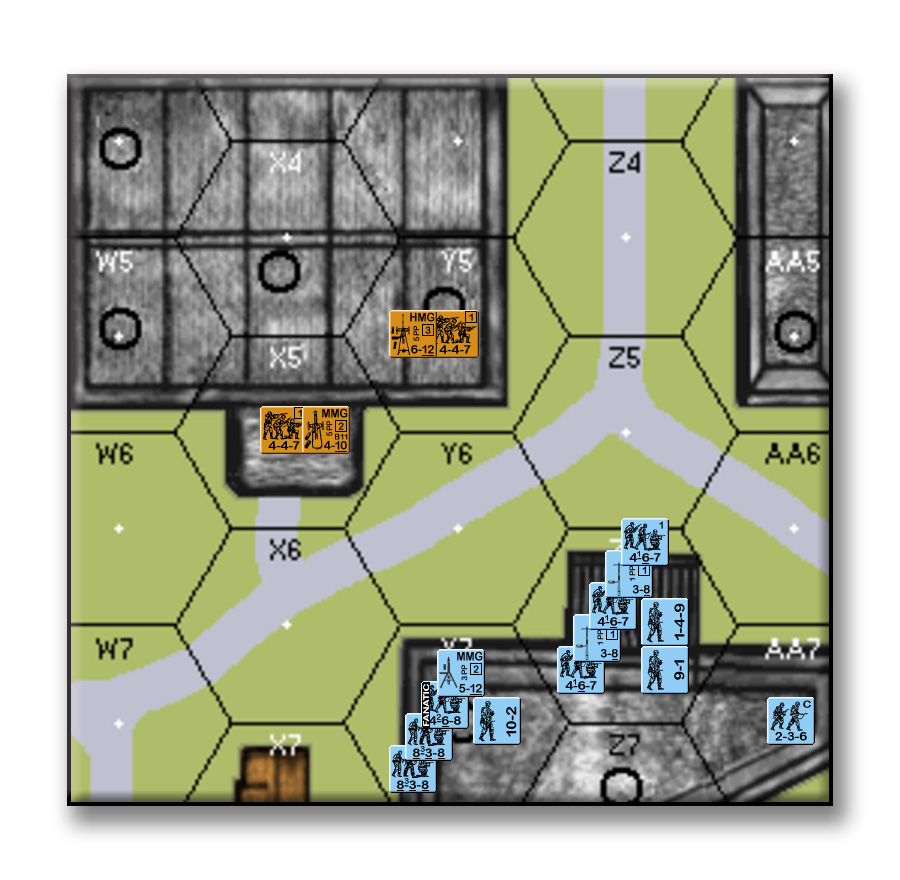
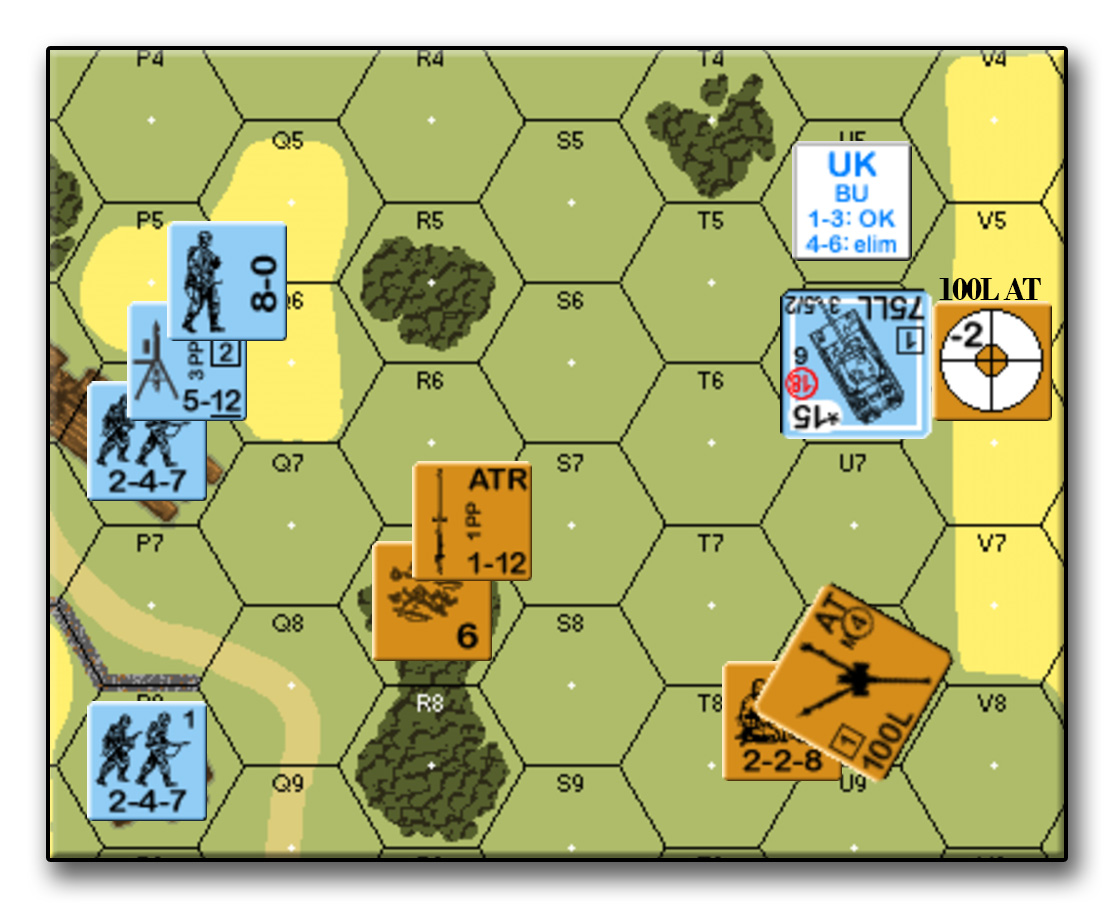
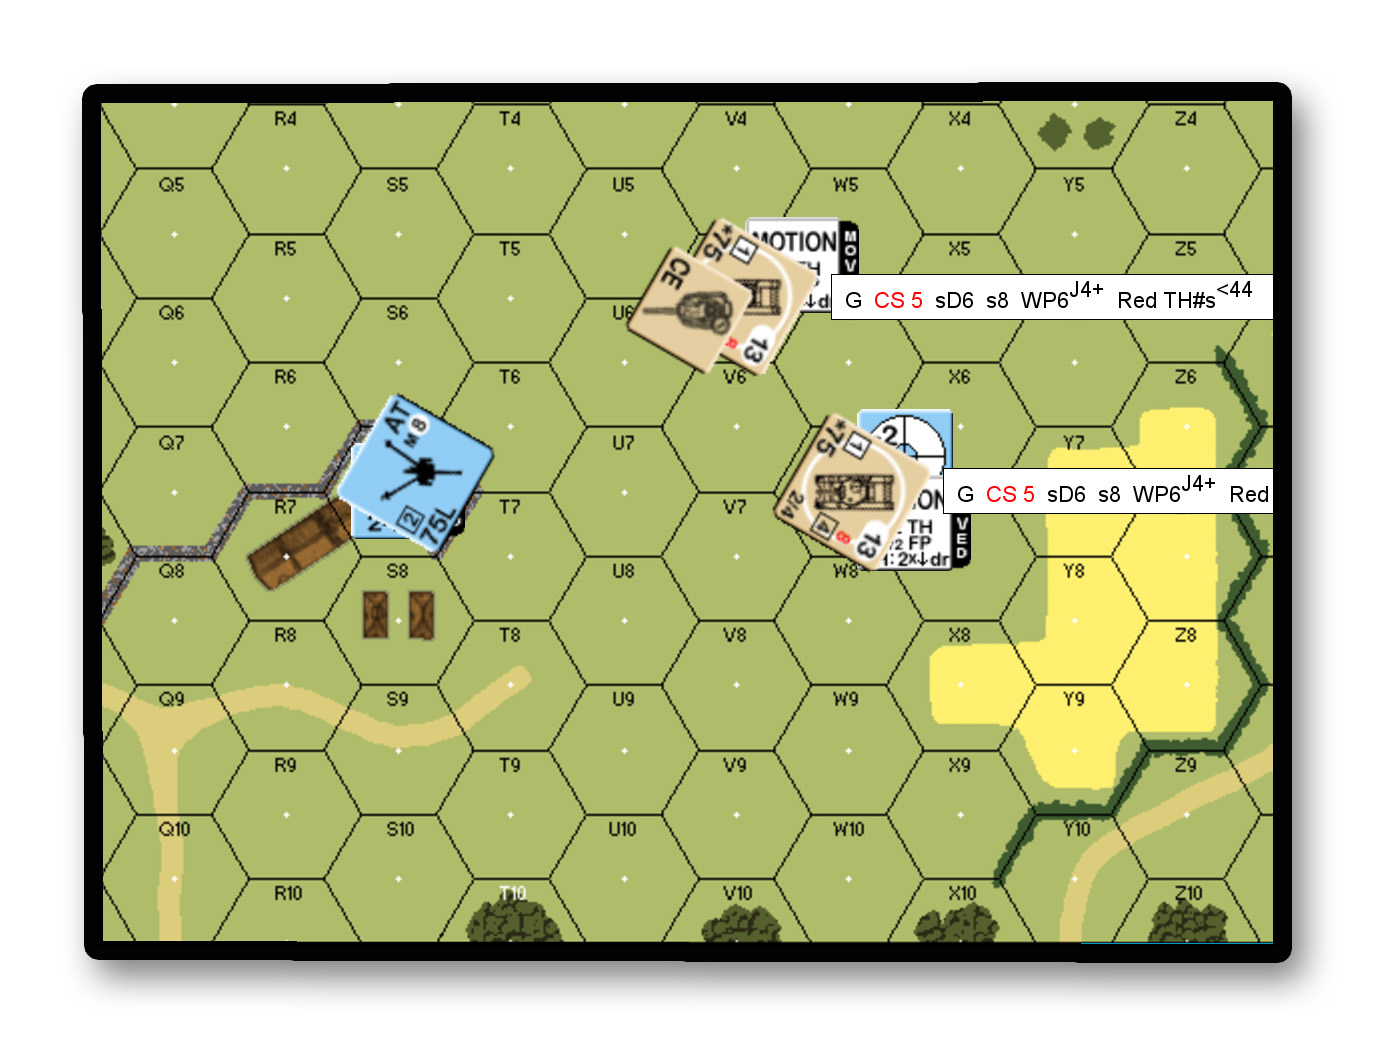
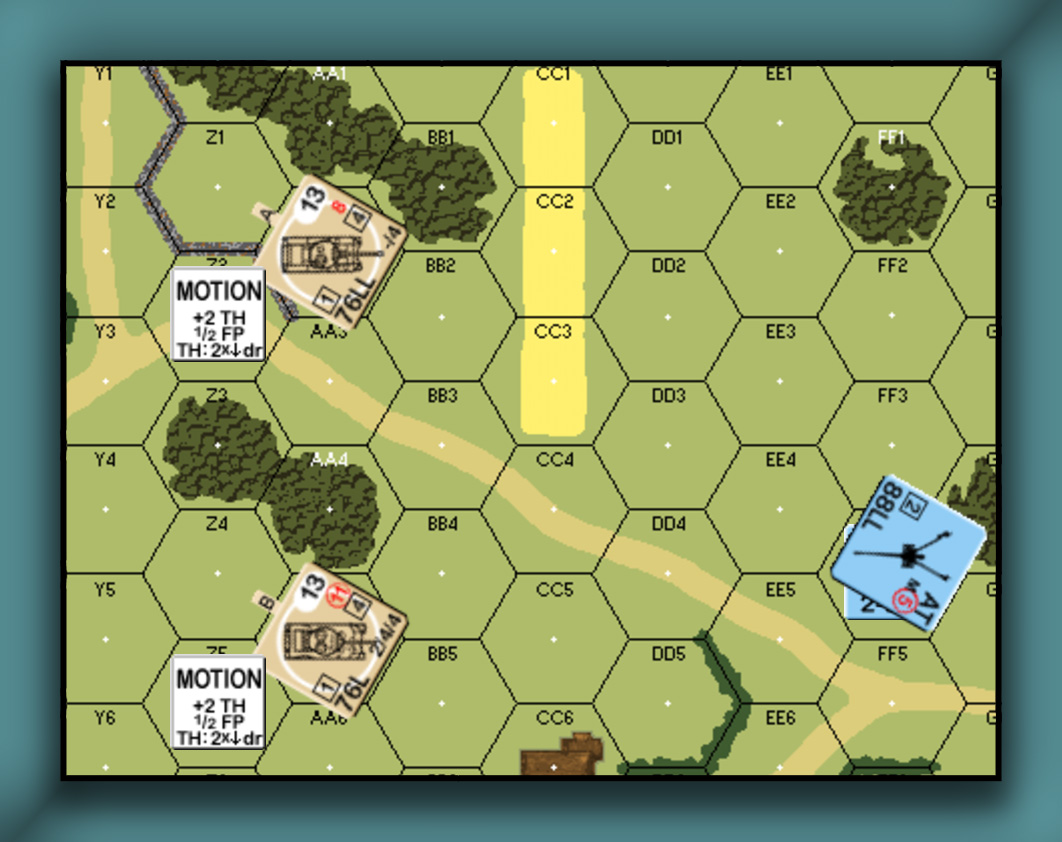
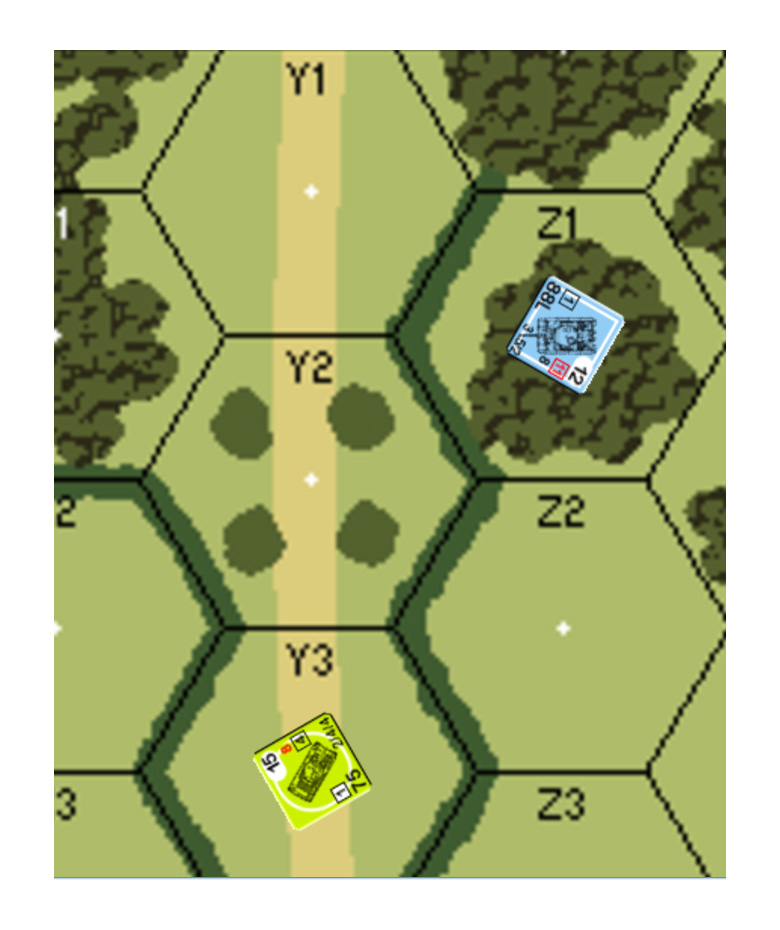
Puzzle #126
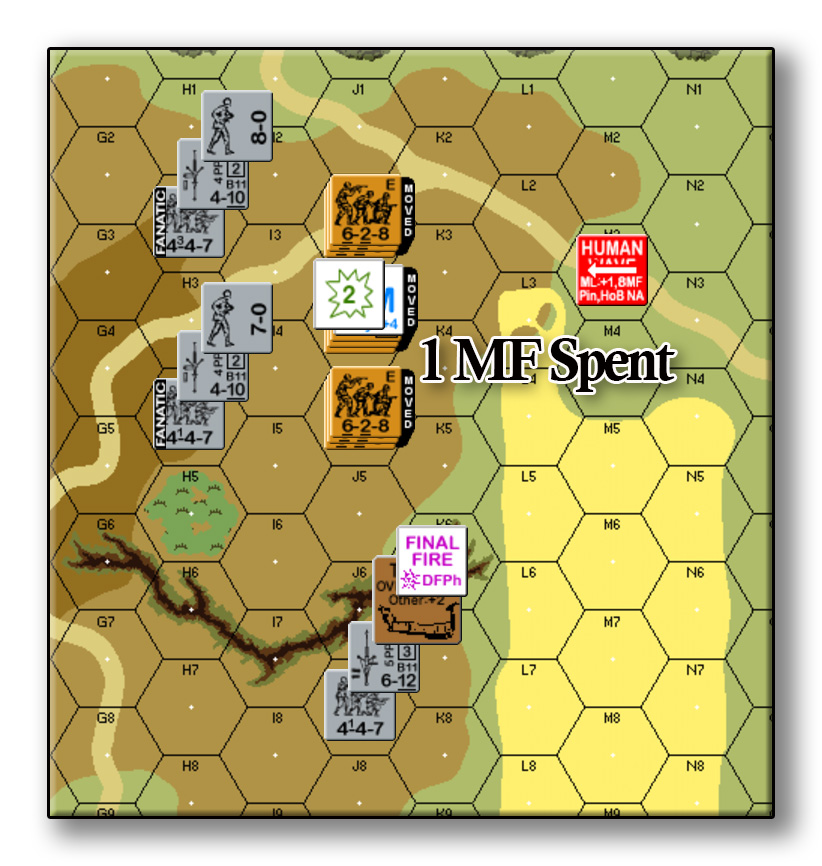
Here is an ASL Classic for you: The poor Italians, finding themselves in yet another jar of pickles deep inside the Soviet Union, are facing down a terrifying Human wave of “Oorah” yelling Mongol hordes sporting PPSH’s. Unfortunately after the first MF impulse of the wave, the HMG fires and Cowers, yet as a saving grace they manage to break one entire stack. Although the right move would be to hold fire until Adjacent or in hex, the leaders panic and give the command to fire now. They did however use a classic trick that increased the odds of survival substantially (hints: there are two subtle clues, one in the previous sentence and one you have to be an ASL fanatic to spot).
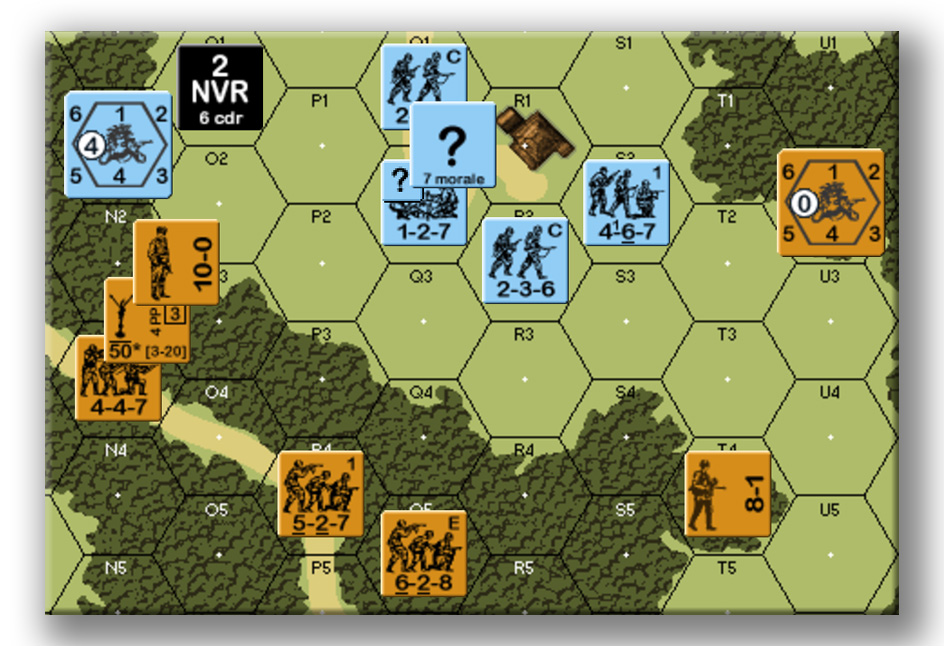
Solution to Puzzle #125

So the Germans need 2 more VP for the win. They can secure this by taking the Russian in I5 prisoner but in order to accomplish this they will need to expose themselves to that nasty MG nest. So instead what if they… Move to H6-G6-F5 and E5(CX due to Conscript). They will admittedly face a 2+2 attack from G1 but as long as the Squad doesn’t Disrupt or the Leader doesn’t pin or Break (less than 6% chance) they will be able to Rout the Squad (voluntary Break) with the Unbroken Leader in tow to A7 (Free from Interdiction as both the Russian Squad and LMG are outside of normal range) and then Advance the Leader off the Board for the needed 2VP and the win.
Trip to Europe with Ulrich
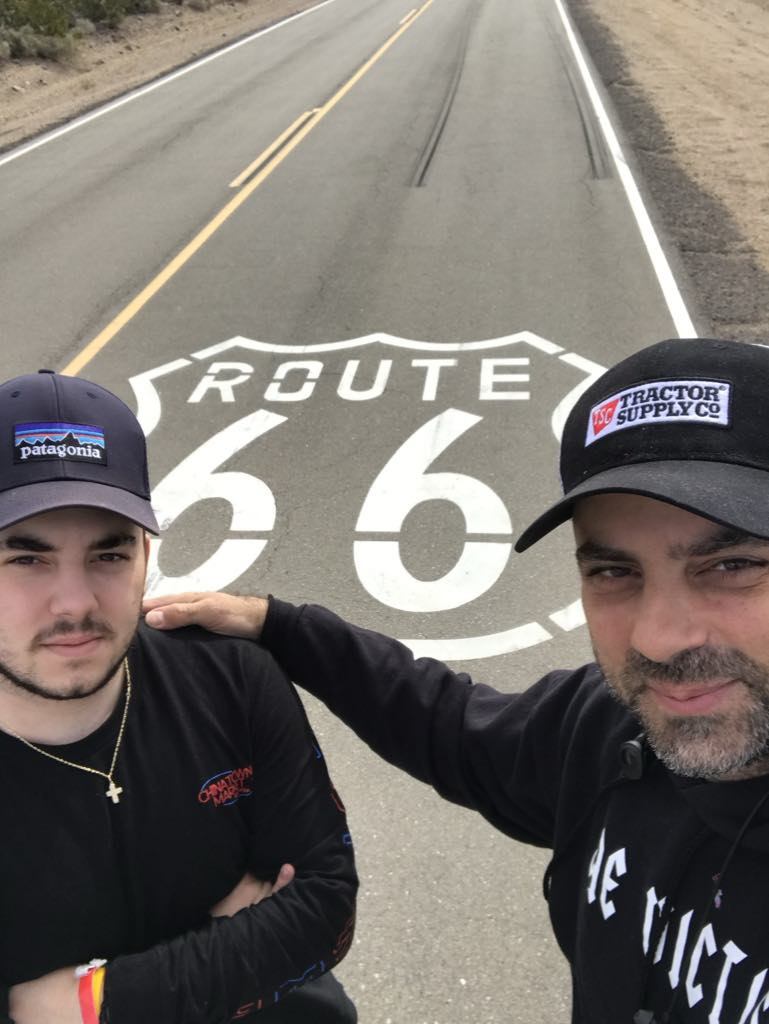
I had always promised both of my boys a Father/Son Trip. I have taken Lazi on two now, one to Canada to play pond hockey and one to drive from LA toward NC on old Route 66.
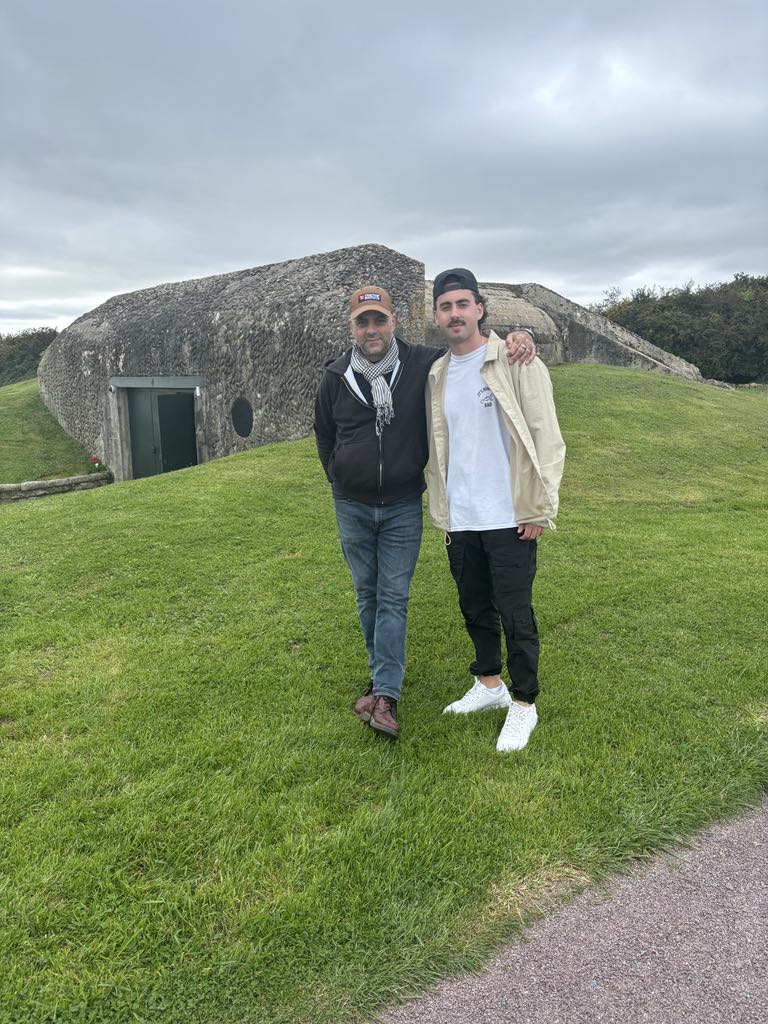
When Ulrich was ten years old he decided that his trip would be to Normandy. Twelve years have since passed since then and finally we were able to hop the pond and embark on our voyage.
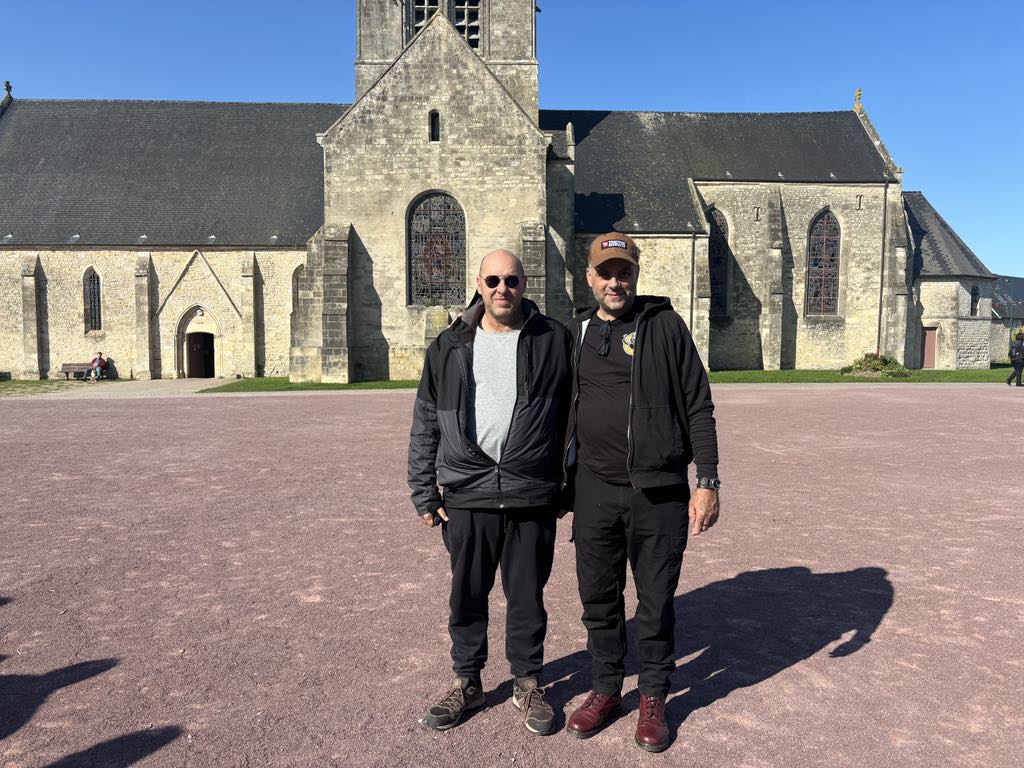
We arrived in Paris where Xavier and two of his daughters, Tamara and Laura picked us up at the airport and we drove straight to Ste. Mere Eglise and then off to Pointe du Hoc.
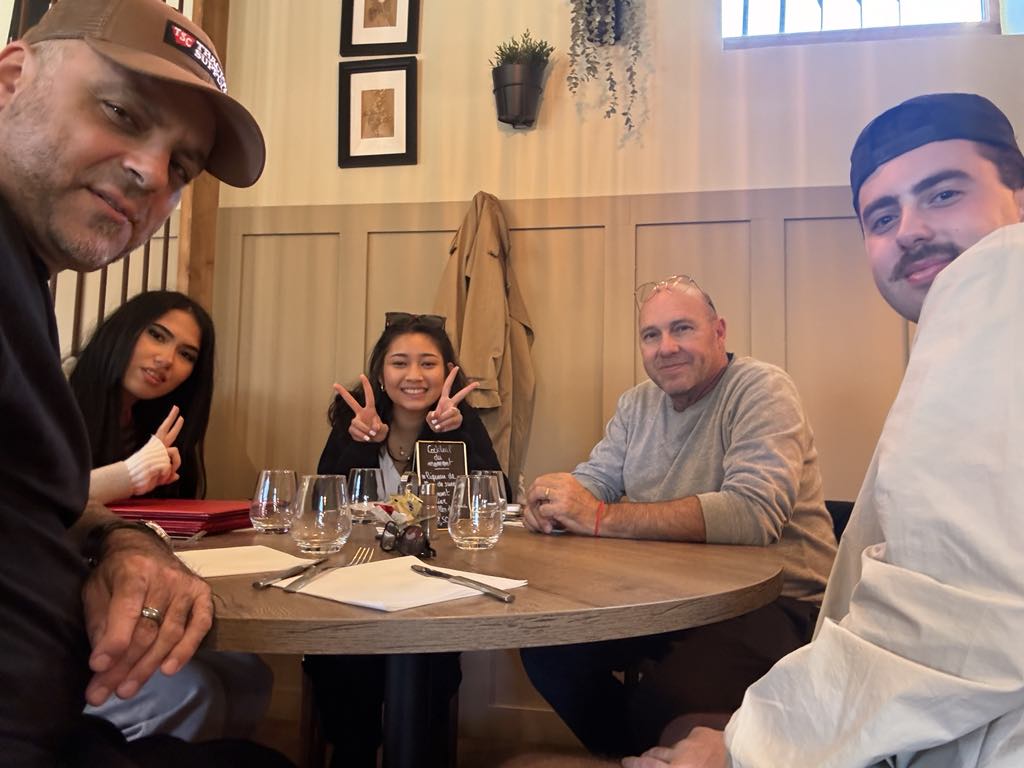
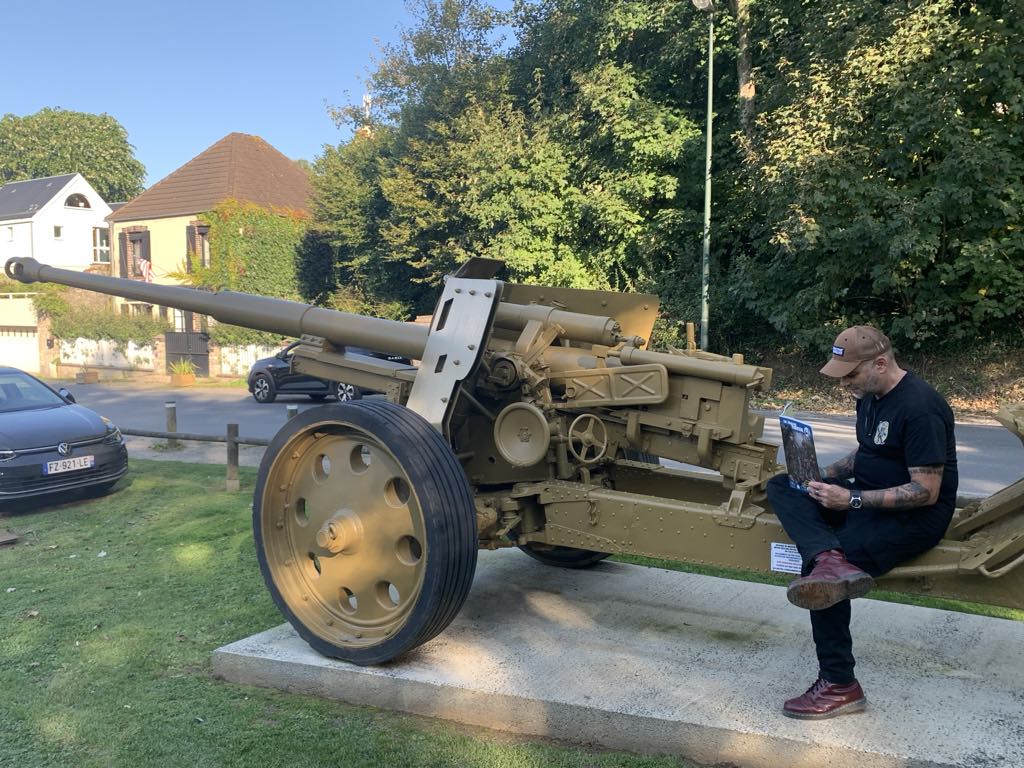
We stayed at a beautiful BnB in Bocage country and the next day we visited Gold Beach and the Batterie de Mereville. We then headed back to our gracious hosts house in Compiegne where we spent the next couple of days with Xavier’s lovely family playing ASL and Secret Hitler in three languages (English/French/Cambodian).
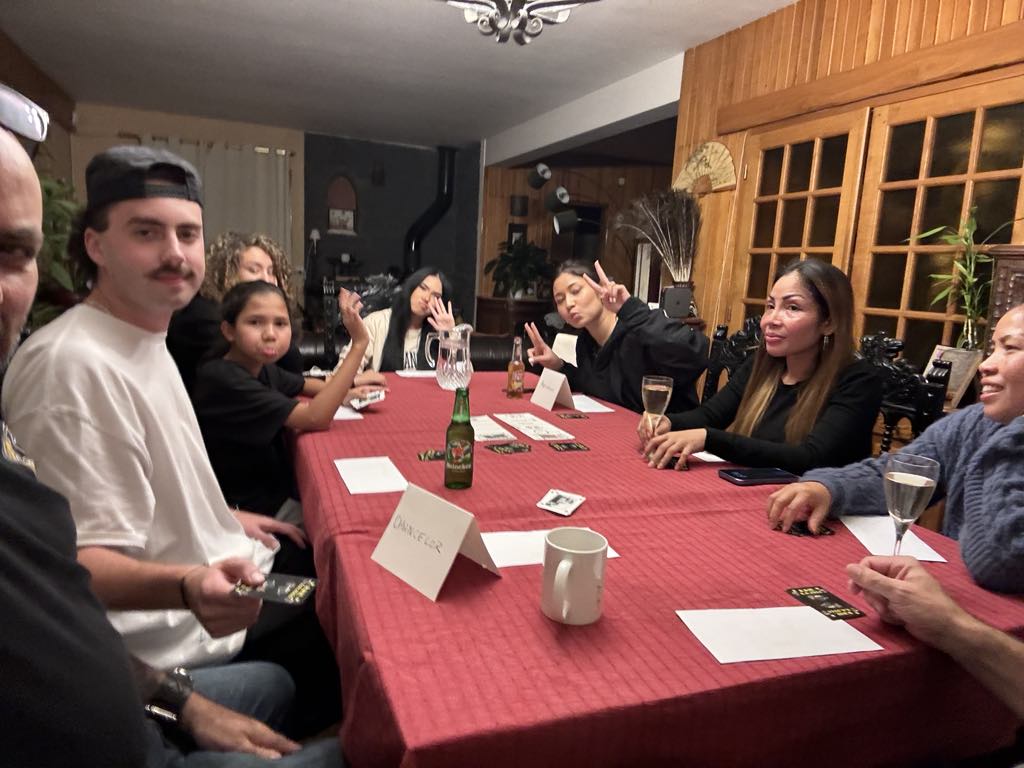
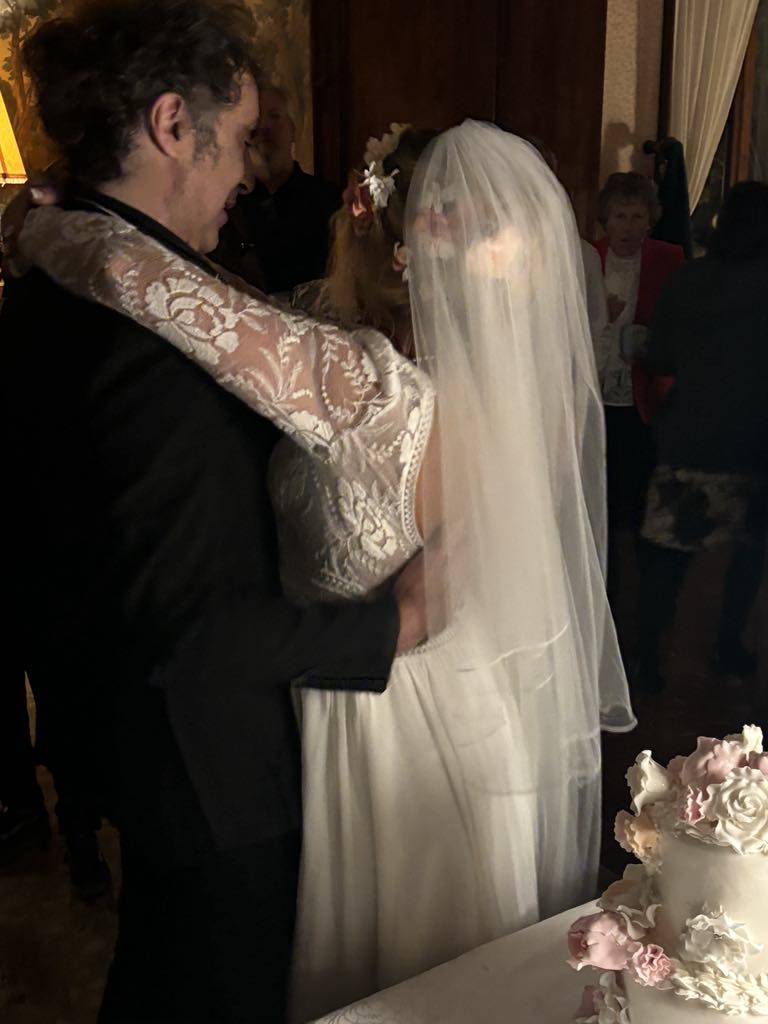
Wednesday we hopped a high speed train to Marseille for my big brother’s wedding to my new sister Morgane. We stayed in Marseille and the resort they rented until Sunday which involved so many new friends, a whole lot of music with my whole family, Dylan (older brother) on Pedal Steel, Morgane (brand new sister) on fiddle, Omar (younger brother) on Piano, Ulrich and my mom singing, and me on guitar) and a few games of Secret Marine Le Pen with all of their friends over much wine and beer.
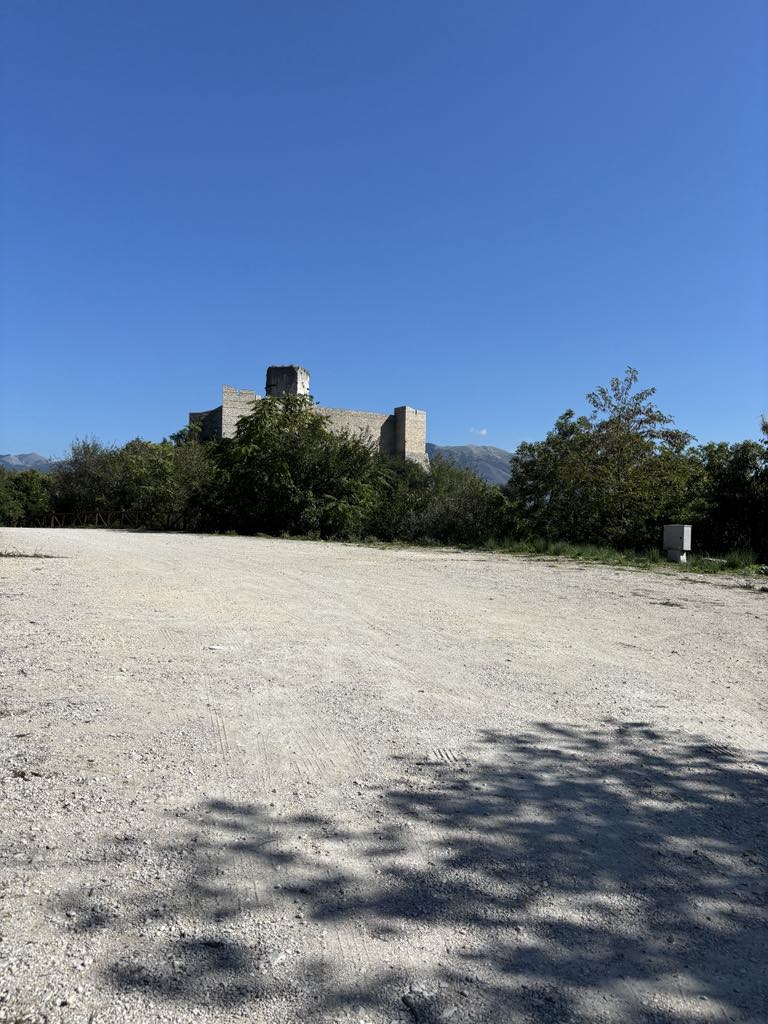
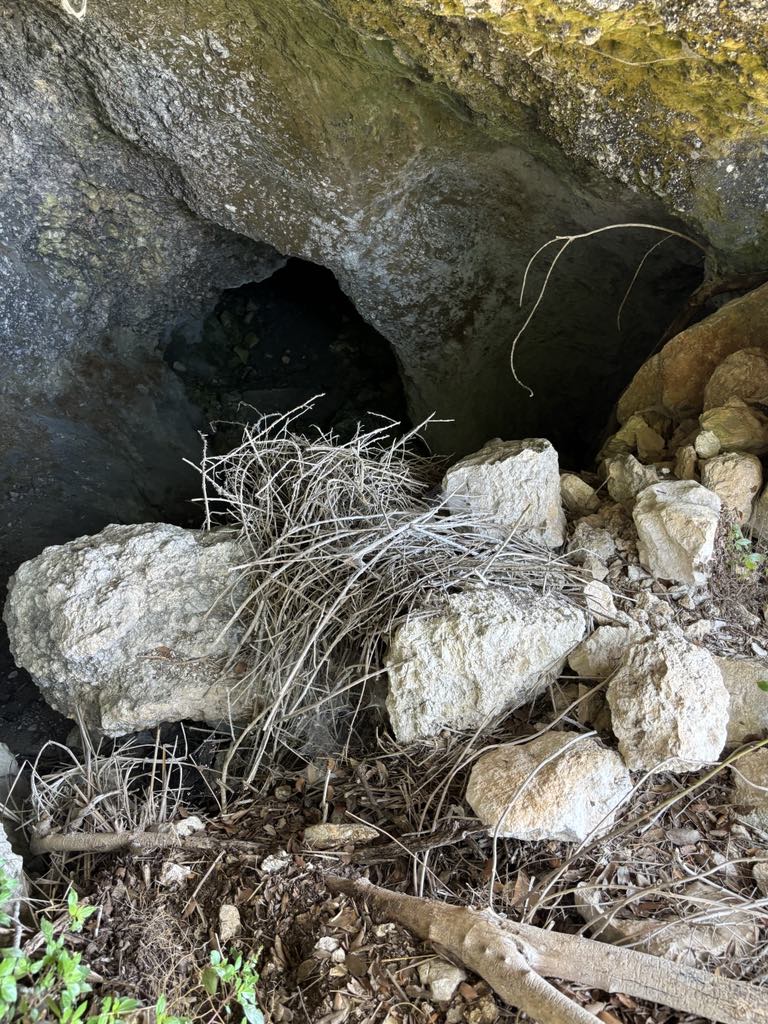
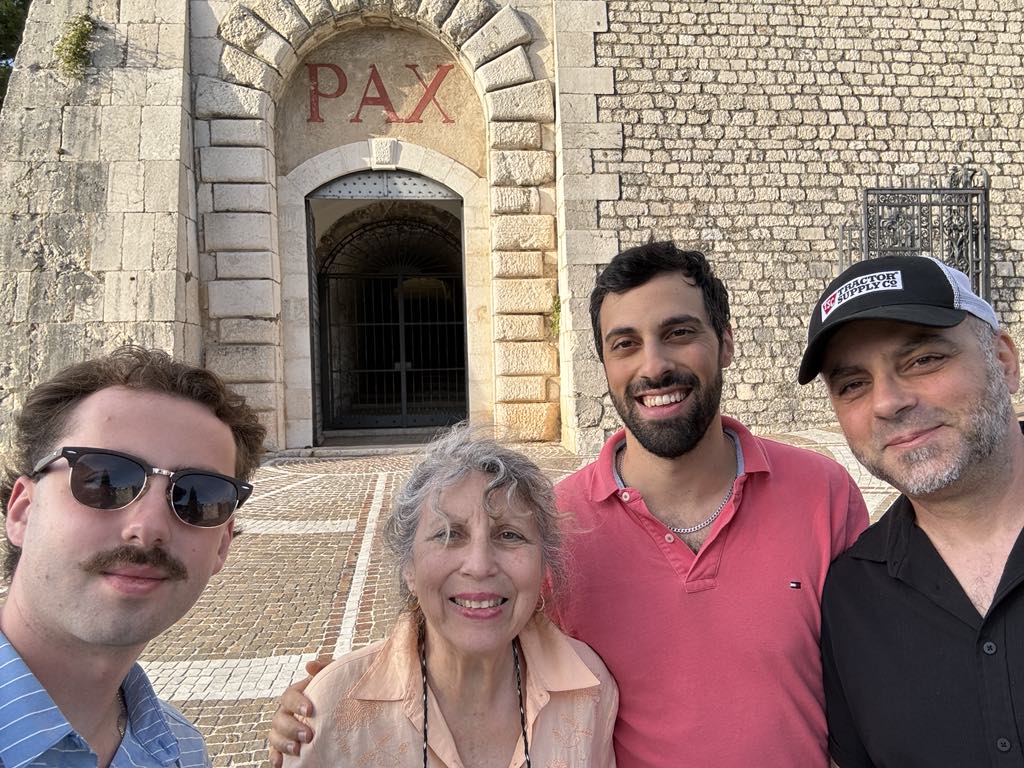
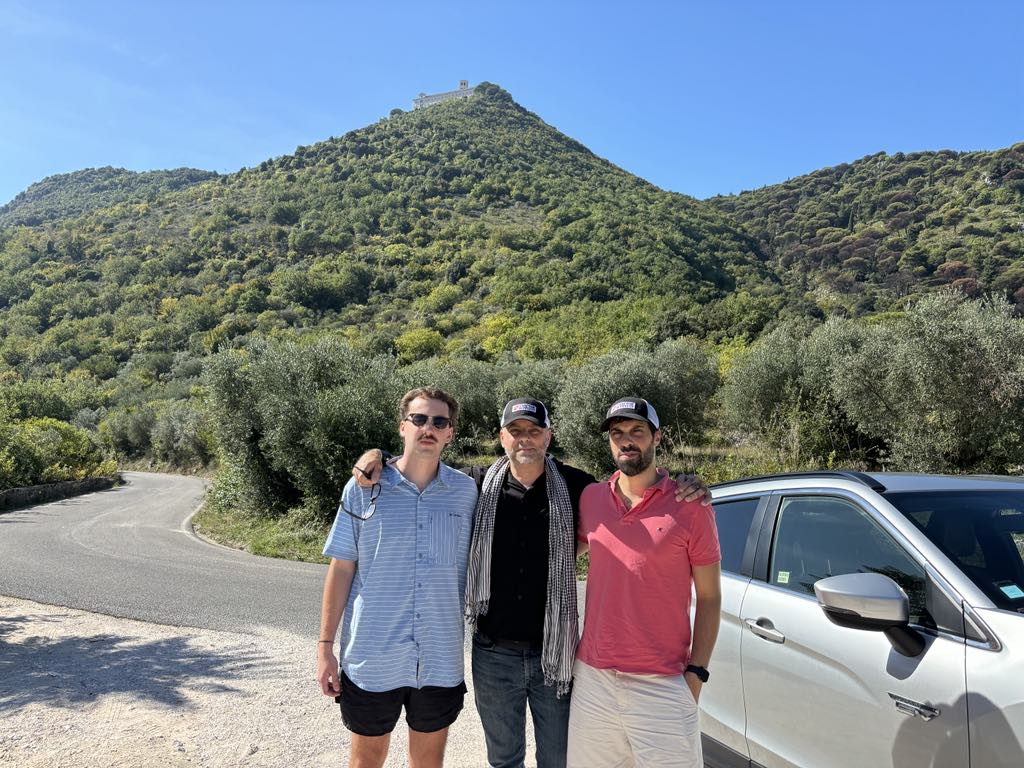
Sunday we began our drive to Italy along the coast road. We picked up my brother Omar and my mom in Rome who flew in from Marseille and were off to Monte Cassino. This was my mom’s absolute favorite part of the trip as you can get lost in the museum of the Abbey for days, while the three boys talked endlessly about the battle, where we would set up our MG and mortar nests, and even climbed into some caves that were blown into the granite by the Germans only to be chased away by the local polizia. Ulrich and I then dropped them back off in Rome and stayed the night in Milan (yuck!).
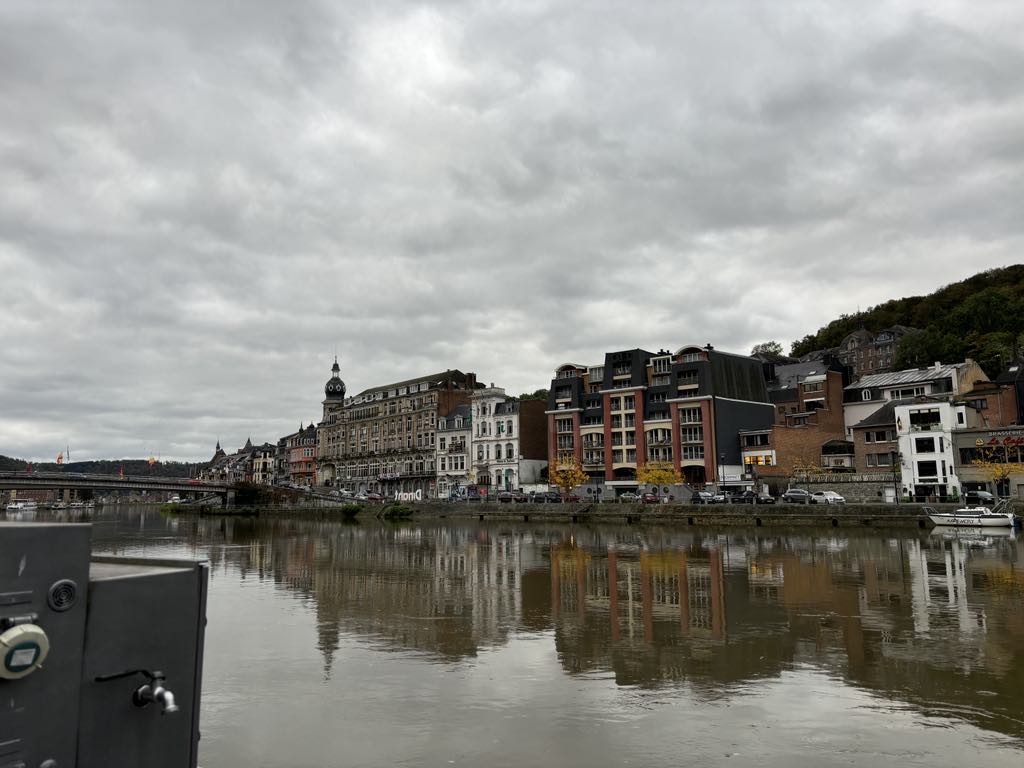
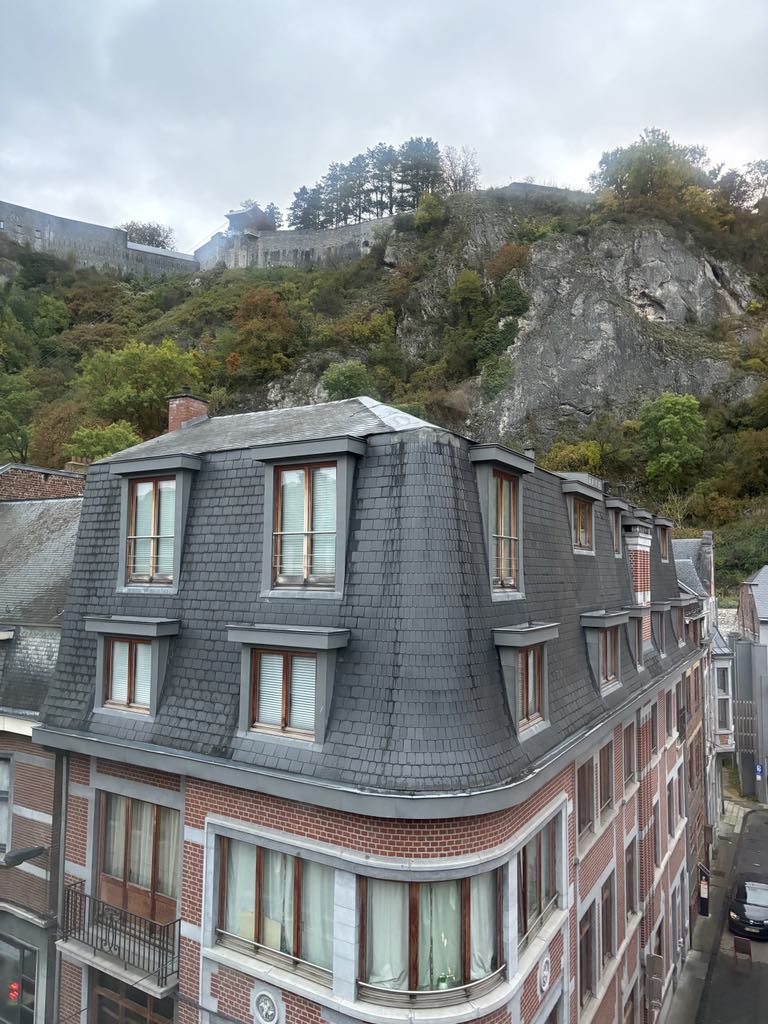
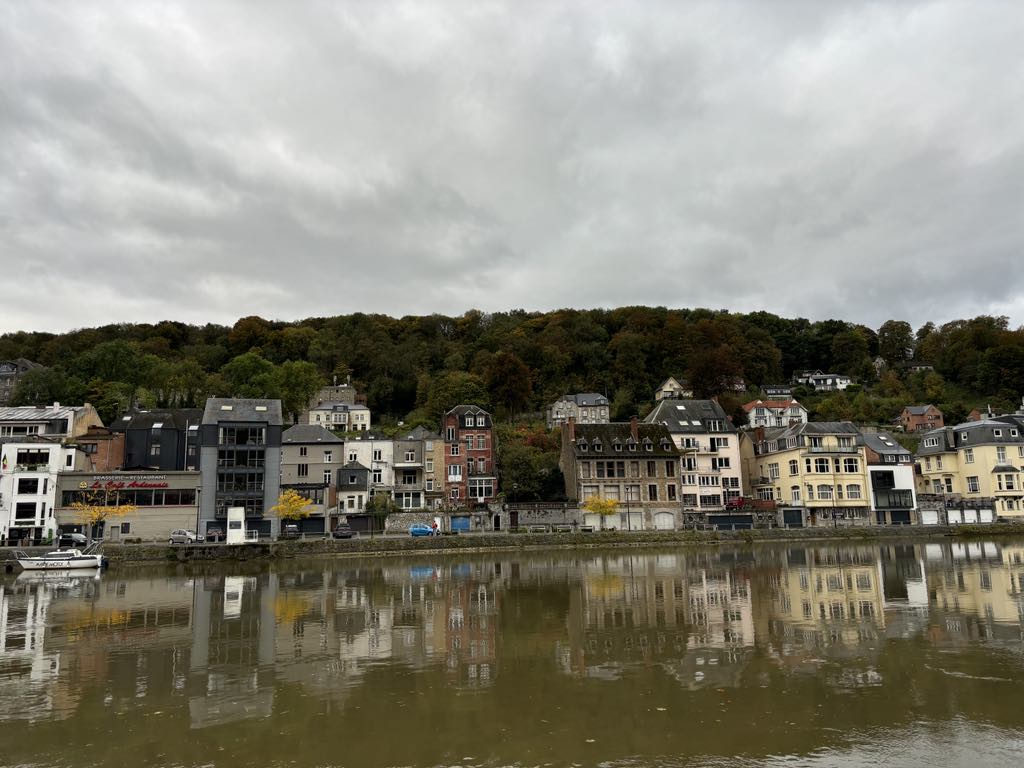
Wednesday Morning we traversed 6 countries (Italy, Switzerland, France, Germany,, Luxemburg, & Belgium) on our way to Dinant with notable stops in Hatten and Rittershoffen, and Merzig in the Saarland (home of my family). Dinant was incredible and well worth the visit. All those that worked on the HASL did a marvelous job but I have to say, there is no way anyone could climb those cliffs. I feel like I cheated now when I think how I got all those squads up there.
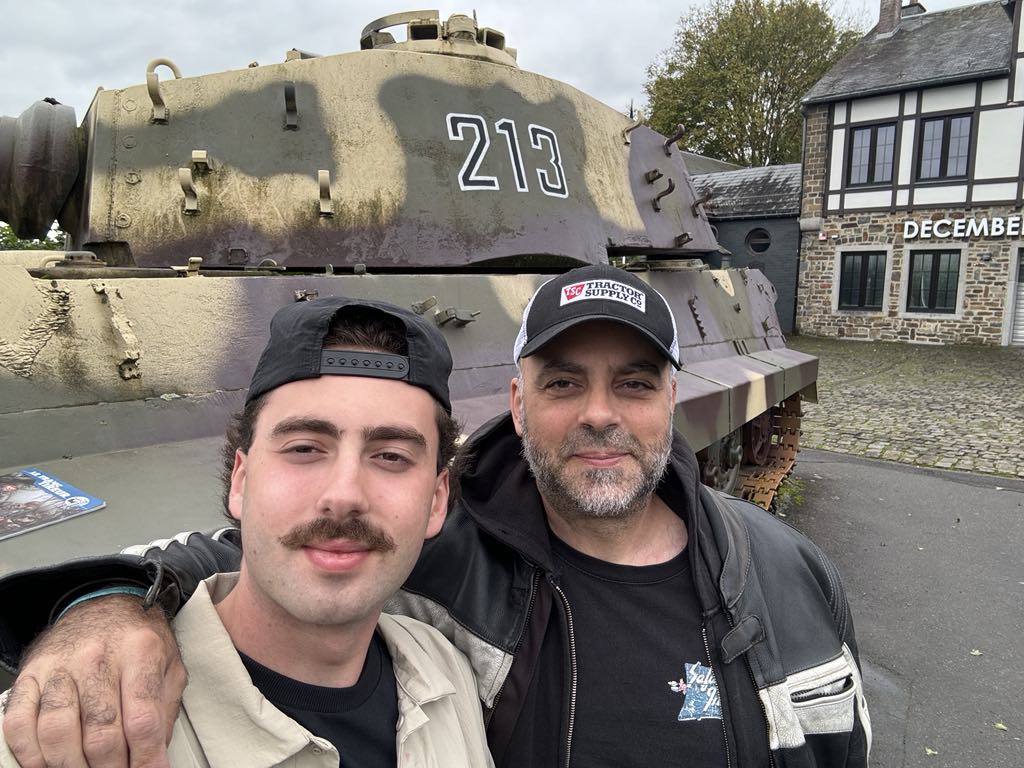
Next we were off to the Stoumont region, visiting the three sites of the KGP historical CG’s. We were blessed that there were no tourists there this day so we had Stoumont, La Gleize, PZKW VIB 213, the museum, and the bridge at Cheneux all to ourselves. The KonigsTiger was bigger than I could have imagined (it is bigger in every dimension and heavier even than the Elephant!!!). You really can’t appreciate the size until you are standing next to this monster. It is in fantastic shape (the exterior at least) and battle damage is evident on the front armor plate of the hull. The museum has much more than I expected and unlike a teaching museum, it is more a collection of weapons and uniforms exclusively from this battle. The Bridge is much as I would have expected it, beautiful stone construction over a small river, Peaceful and flanked by forest line and pastures. You can picture the squads emerging from the tree line while tanks rolled through the fields. I could have stayed at that little bridge daydreaming until the sun set.

We then drove back to our hosts in Compiegne, finished the scenario we had started the week before and got ready to return home. What a fantastic trip with great friends and family. A huge thank you to Xavier, his lovely wife Serrin, his sister in law, and his children for hosting and entertaining us.
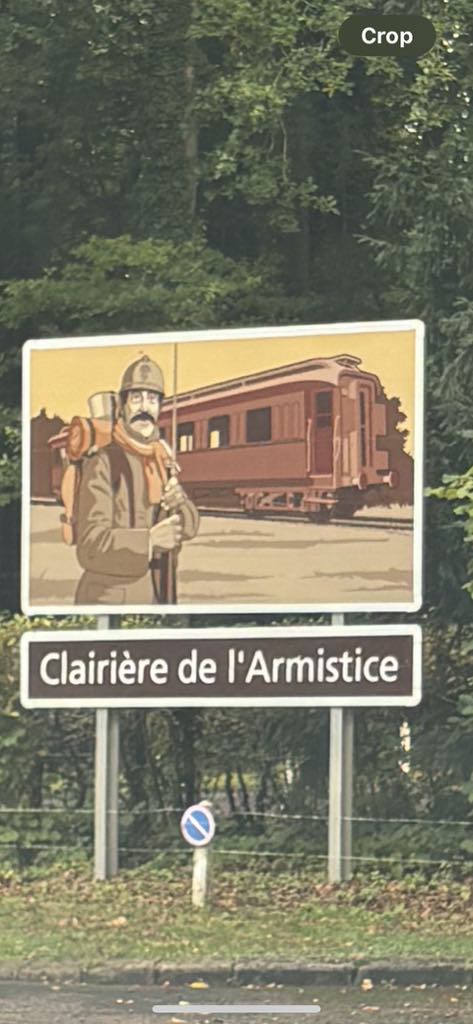
Regrets… Xavier lives but a few KMs from the location of the railcar where the German and French surrendered in 1918 and 1940. We had agreed that we would pose in front of the railcar with the loser of our scenario signing the other’s surrender paper. As we ran out of time, we were unable to get the photo. The outcome of the game will remain a mystery to all until I visit again and we can get that photo. to be continued…